We may earn revenue from the products available on this page and participate in affiliate programs.
All humans, rich or poor, benefit from the outdoors. But let’s face it: quality outdoor equipment isn’t cheap, and assembling all the gear you need to go on an overnight backpacking trip can cost thousands of dollars if you purchase only top-end gear. So when my editor and I were discussing these issues, we decided to take on the challenge of assembling a list of the cheapest, minimally viable equipment needed for an overnight backpacking trip, and when it comes to low-cost value, Walmart comes to mind.
One of the reasons outdoor equipment can be so expensive is that a lot of research and development has gone into making gear lighter, more capable, and more compact. Essentially, better, more expensive equipment enables you to carry less weight on your back (and have a more enjoyable time), do more tasks with fewer items, and put more things in less space in your pack. So we had the idea to see what we could find at our local Walmart to drive down economic barriers to entry so the cost-conscious could also enjoy the outdoors.
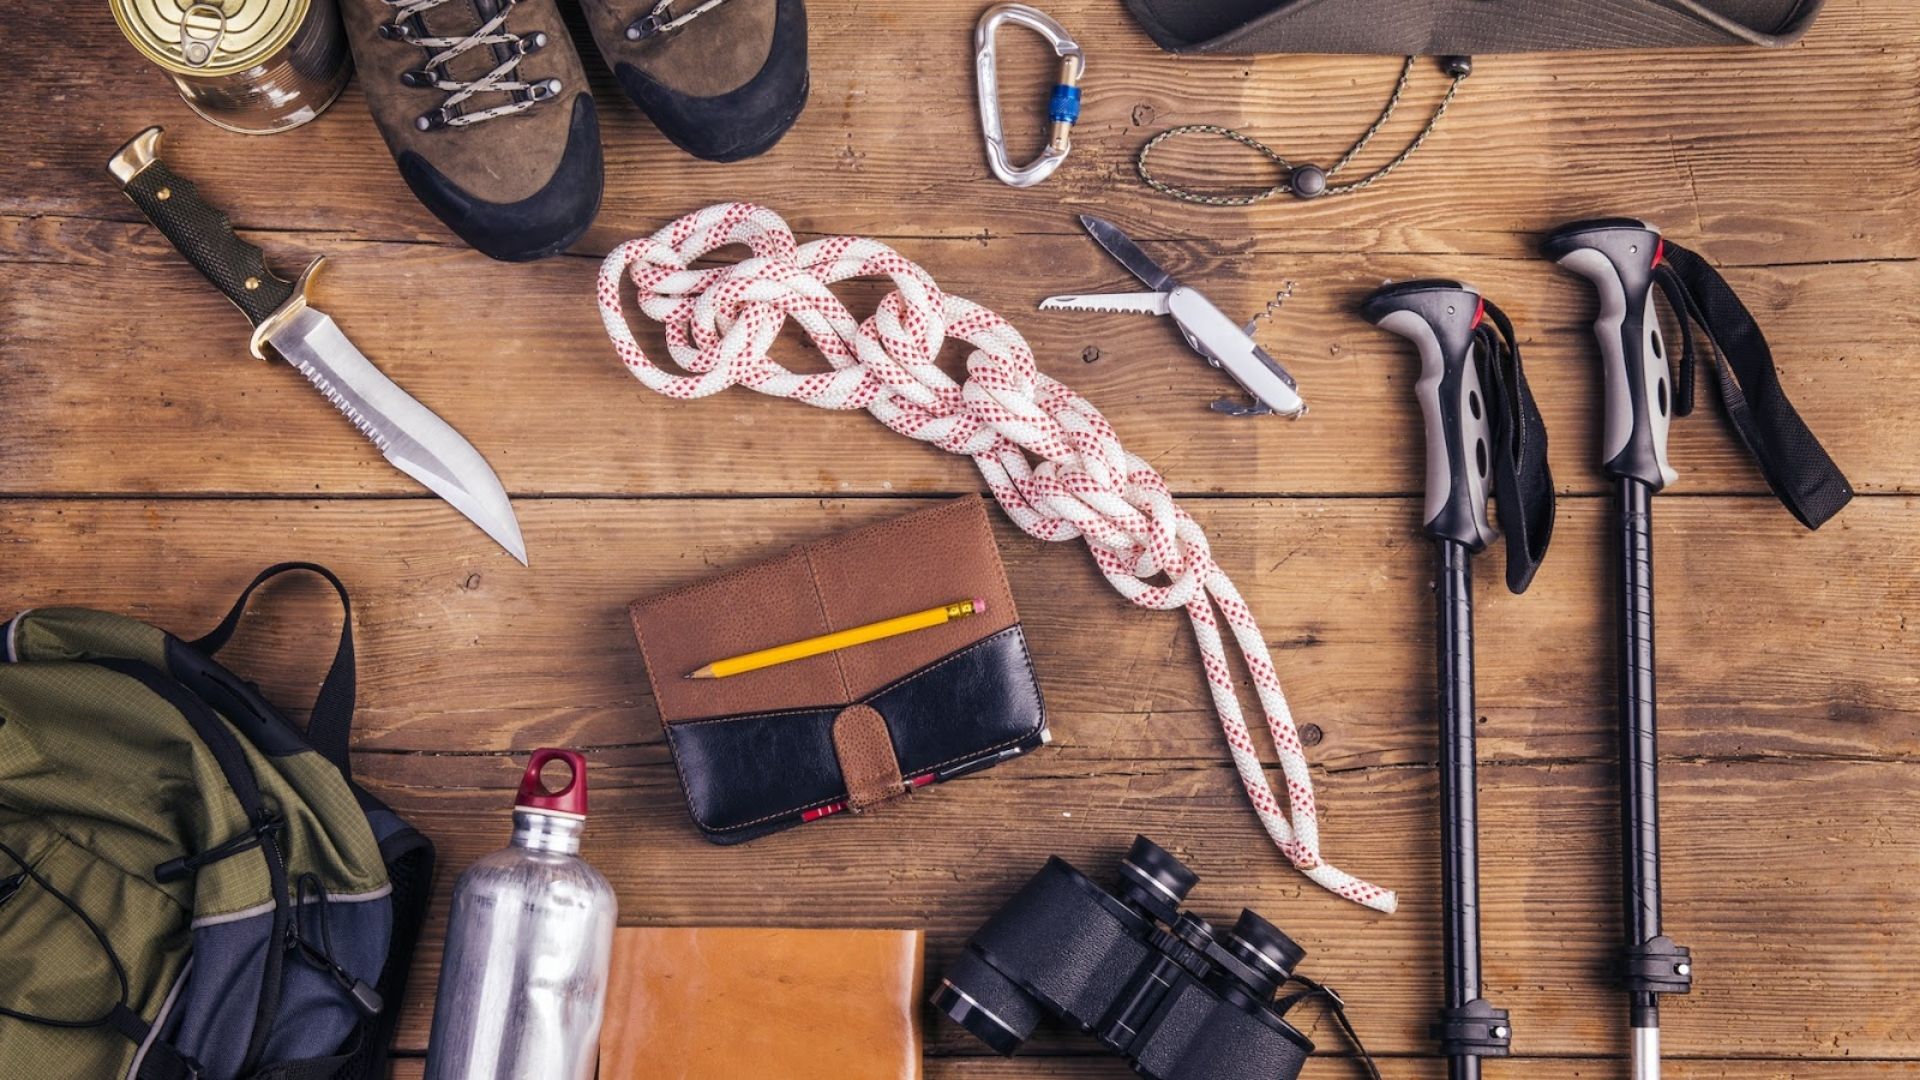
To accomplish this challenge, we assembled a list of 10 essential items you should take with you every time you enter the backcountry, and a few more items you’ll want to take for overnight camping. Our 10 essentials list includes: 1) a pocket knife, 2) a first aid kit, 3) a water resistant/waterproof jacket, 4) water bottles, 5) a water purification or filtration device, 6) a light source, 7) shelter, 8) a fire starter, 9) sun protection, and 10) a map and compass. Beyond the 10 essentials, you’ll need: hiking boots or shoes, a backpack, a sleeping bag, and a camp stove and fuel. Oh, and you’ll also want to bring some food. (Please note, this is not an inclusive list.)
To evaluate our selections, I’m going with the following criteria. For my top pick, I’m listing the best quality product at the lowest price point. And for my alternate, I’m selecting the minimally viable option that will get you by at the cheapest cost. We’ve found a way to get you kitted out with most of the essentials (except a backpack), for just under $200. Now, manage expectations: this is a bare bones list.
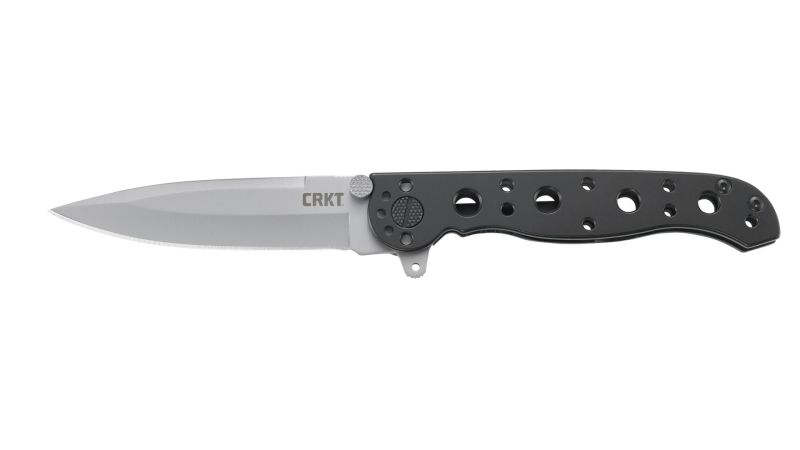
Knife
Top pick
CRKT M16-01S EDC Folding Pocket Knife
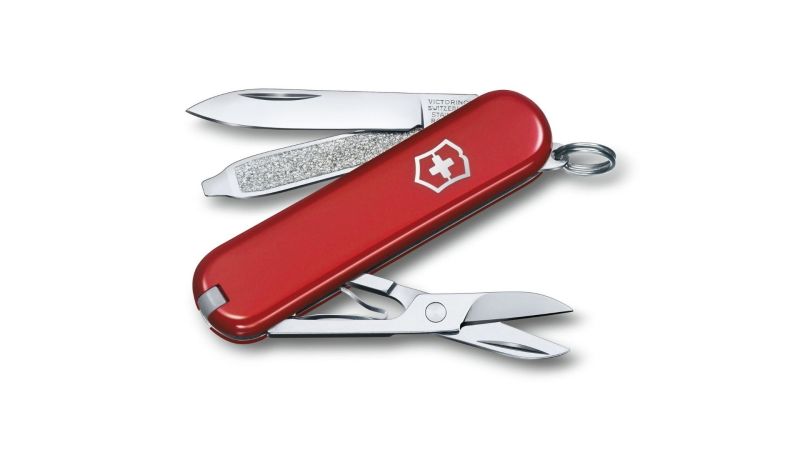
Alternate
Victorinox Red Classic Es Clam
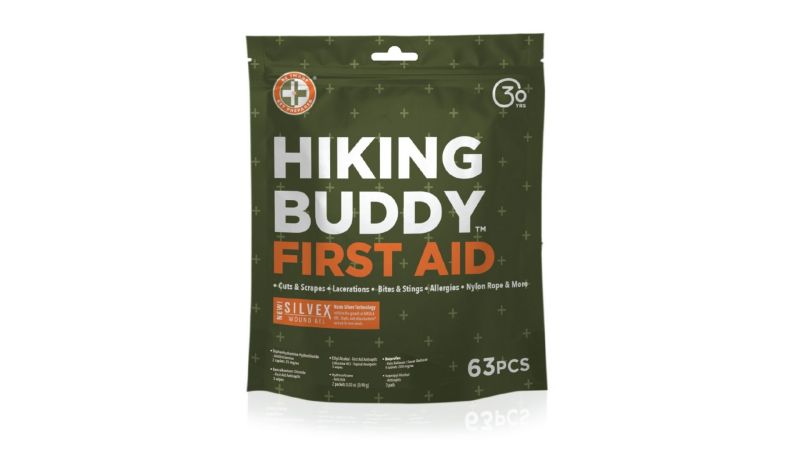
First Aid Kit
Top pick
Hiking Buddy First Aid Kit
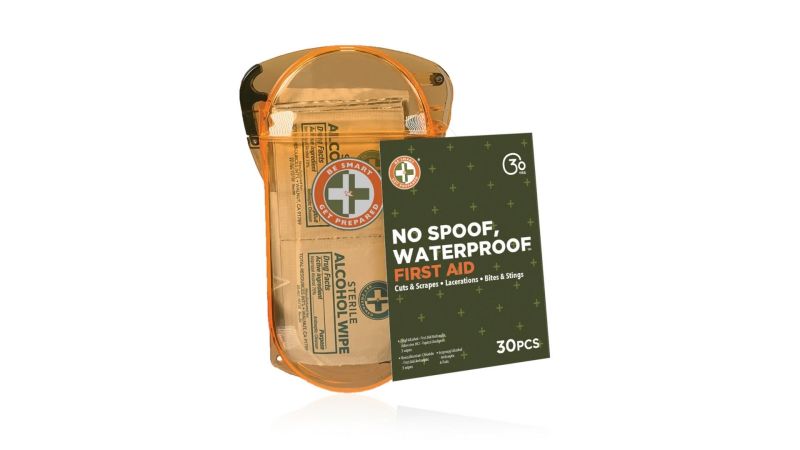
Alternate
No Spoof, Waterproof First Aid Kit
Waterproof Jacket
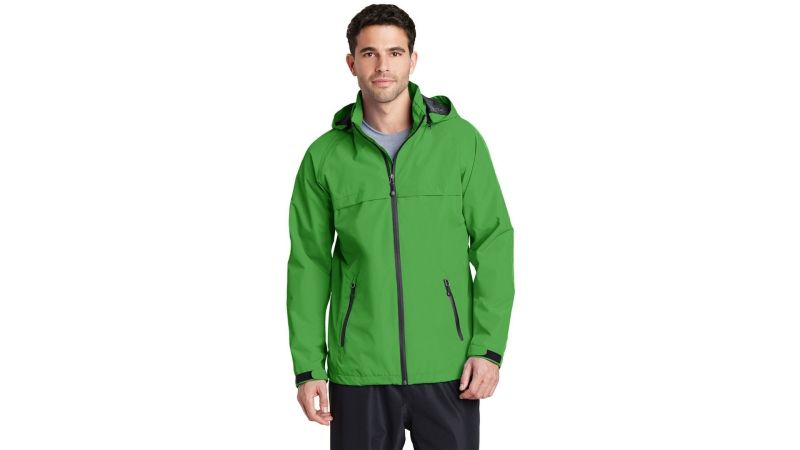
Top pick
Port Authority Men's Torrent Waterproof Jacket
Alternate
Ozark Trail Eva Adult Rainwear Poncho

Water Bottles
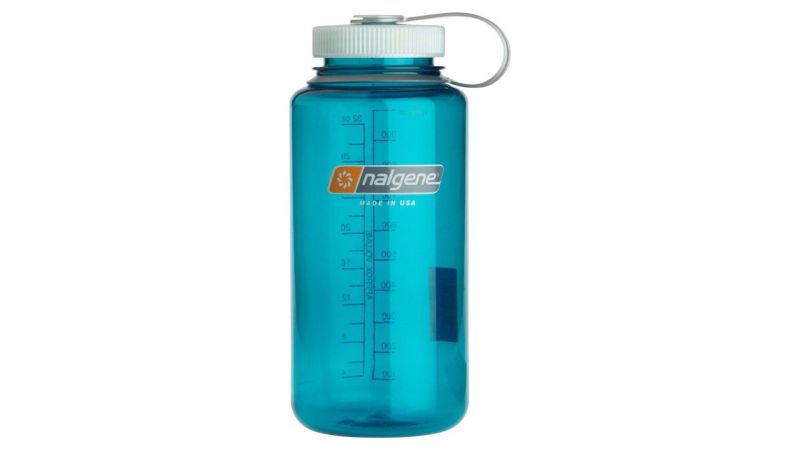
Top pick
Nalgene Wide Mouth 32 oz Water Bottle
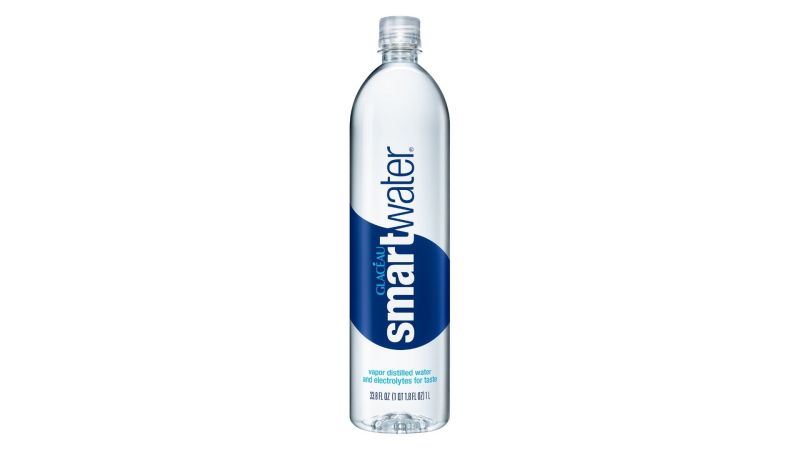
Alternate
Glaceau Smartwater ($1.58)
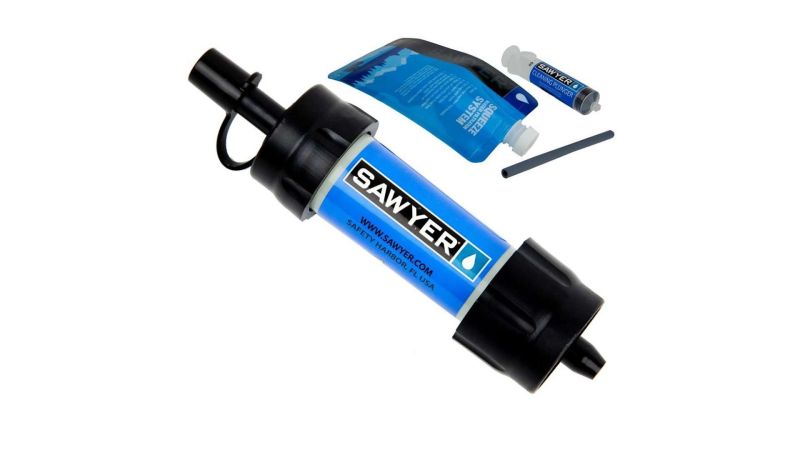
Water Filter
Top pick
Sawyer MINI Filter
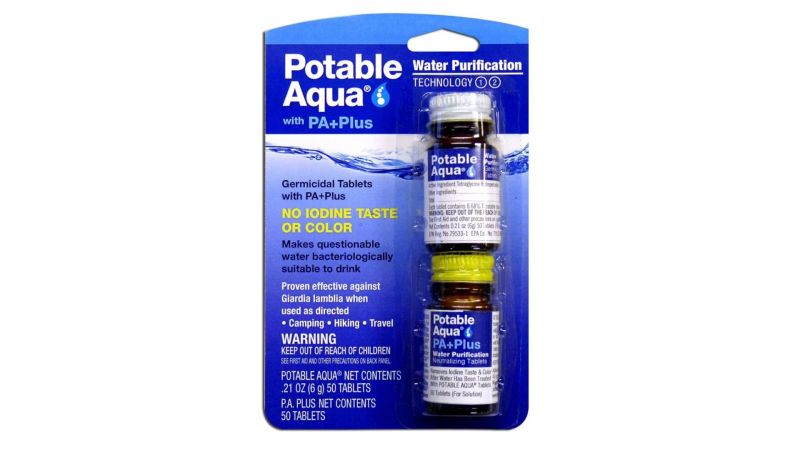
Alternate
Potable Aqua Water Purification Tablets with Pa Plus
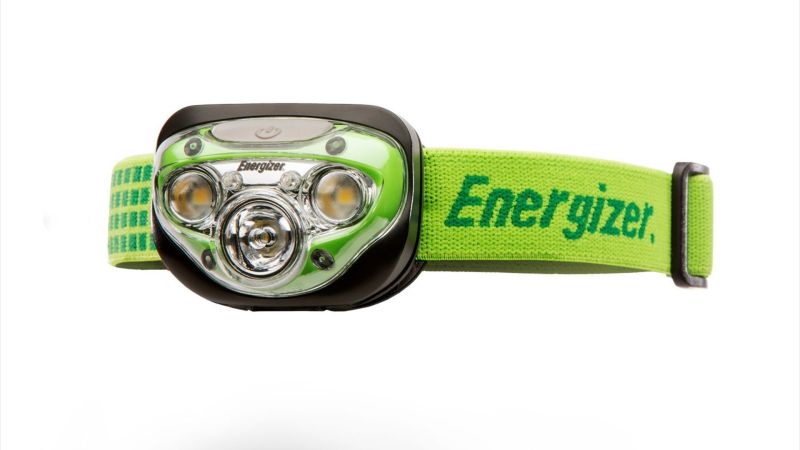
Light Source
Top pick
Energizer Vision HD+ 350 Lumen LED Headlamp
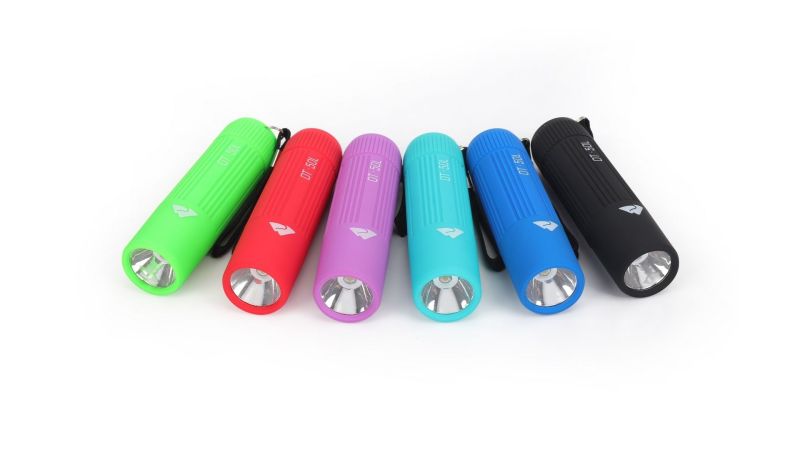
Alternate
Ozark Trail Single Mini Handheld LED Flashlight
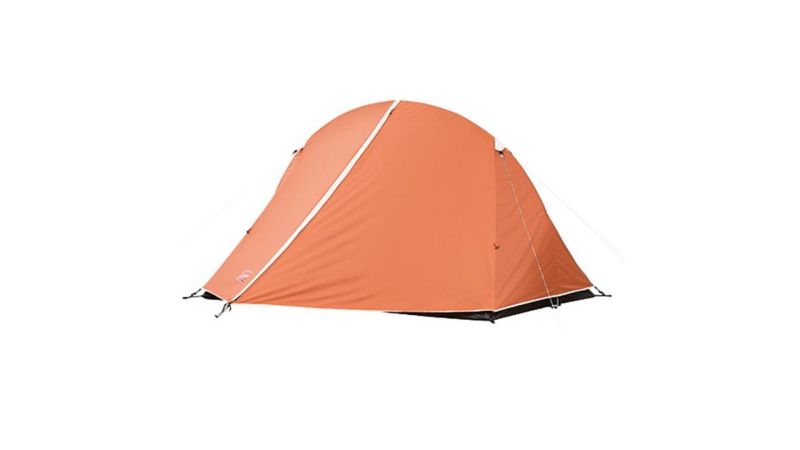
Shelter
Top pick
Coleman Hooligan 2-Person Dome Tent
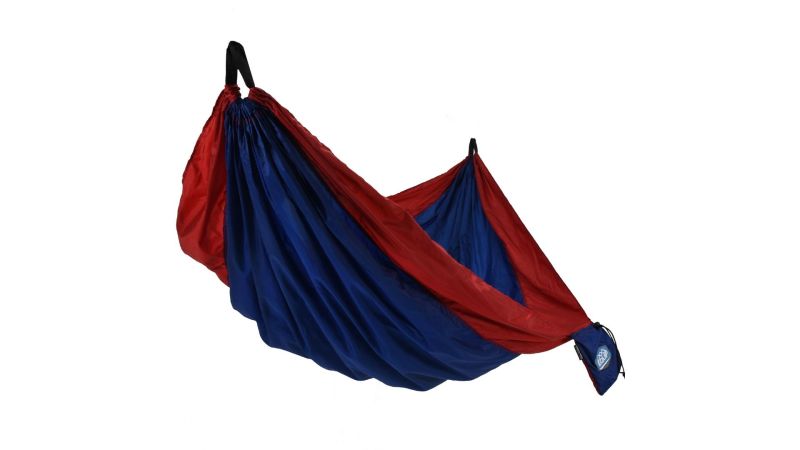
Alternate
Equip Lightweight Portable Nylon Camping Travel Hammock
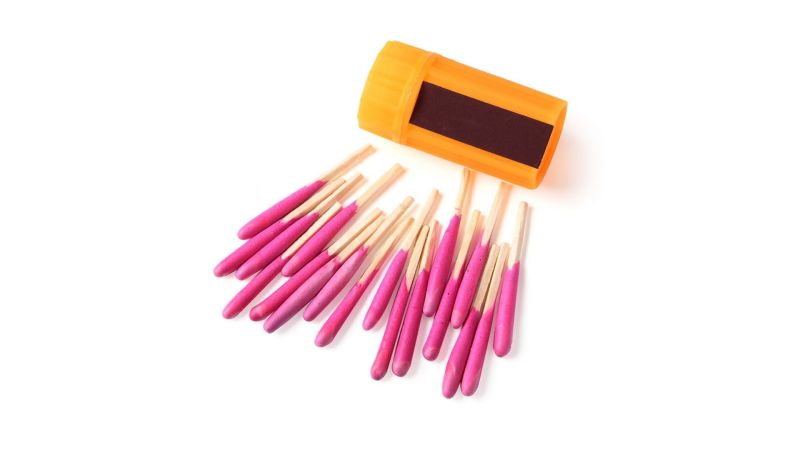
Firestarter
Top pick
Outdoor Windproof and Waterproof Matches
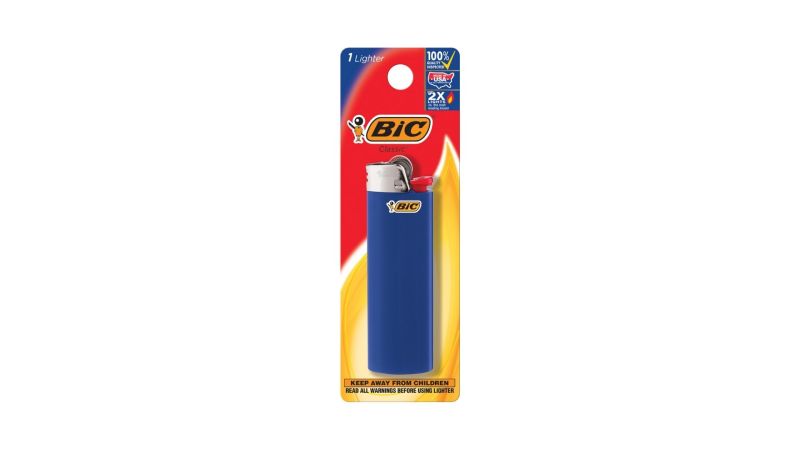
Alternate
BIC Classic Pocket Lighter
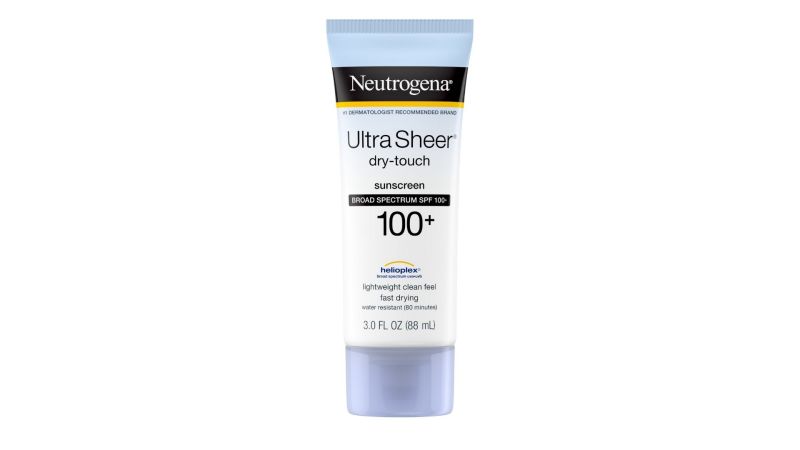
Sun Protection
Top pick
Neutrogena Ultra Sheer Dry-Touch SPF 100 Sunscreen
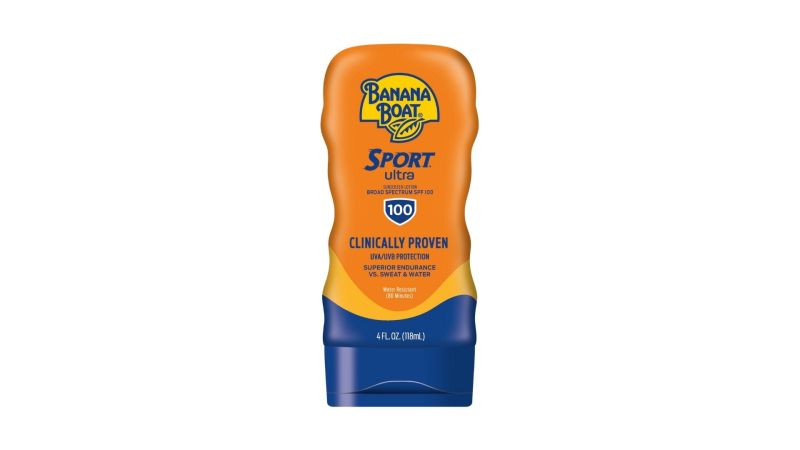
Alternate
Banana Boat Ultra Sport Sunscreen Lotion SPF 100
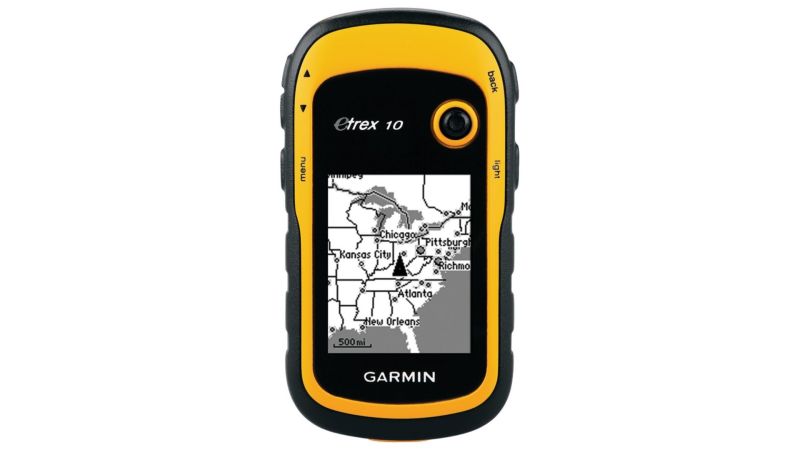
Navigation: Map and Compass
Top pick
Garmin eTrex 10 Worldwide Handheld GPS Navigator
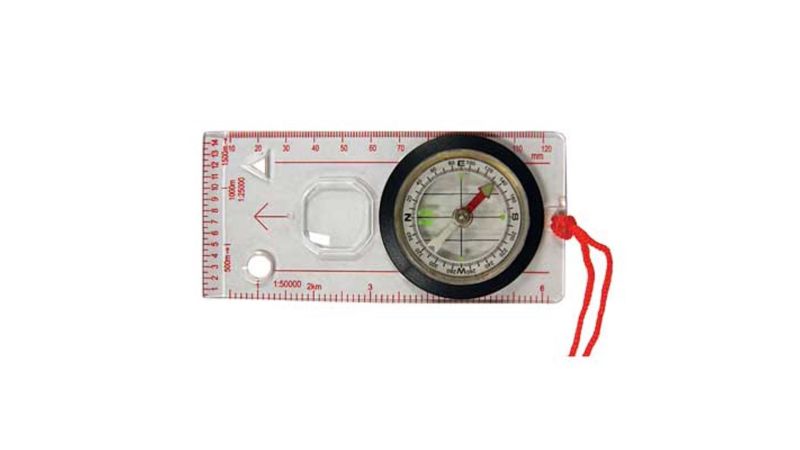
Alternate
Ultimate Survival Technologies Deluxe Map Compass
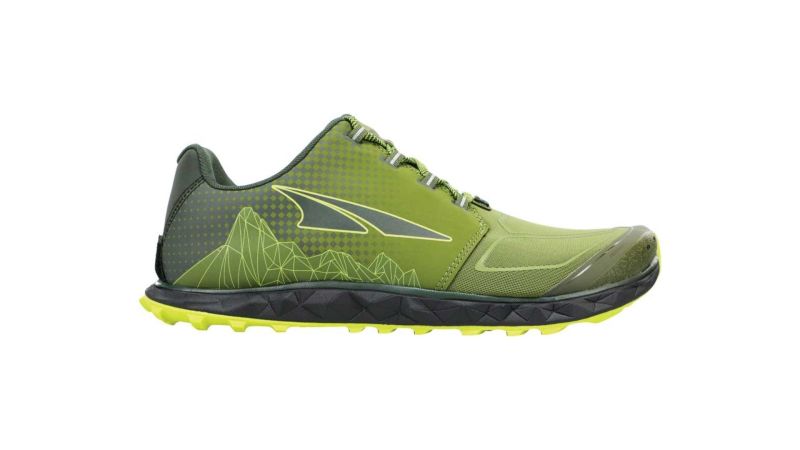
Hiking Boots
Top pick
Altra Superior 4.5 Trail Running Shoe
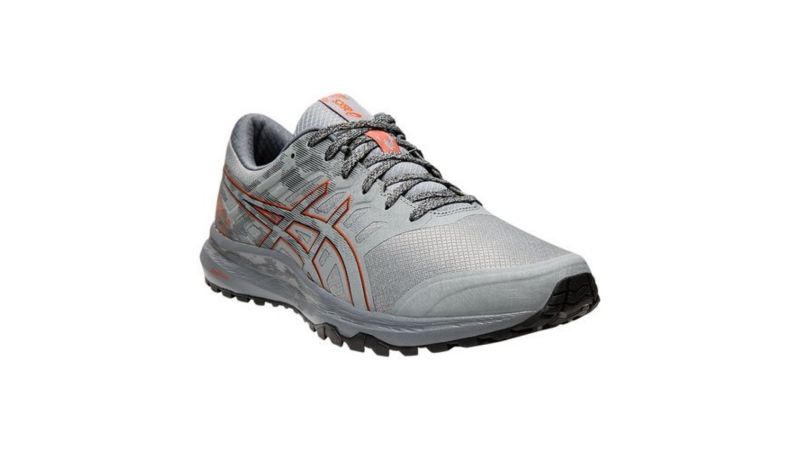
Alternate
ASICS GEL-Scram 5 Trail Running Shoe
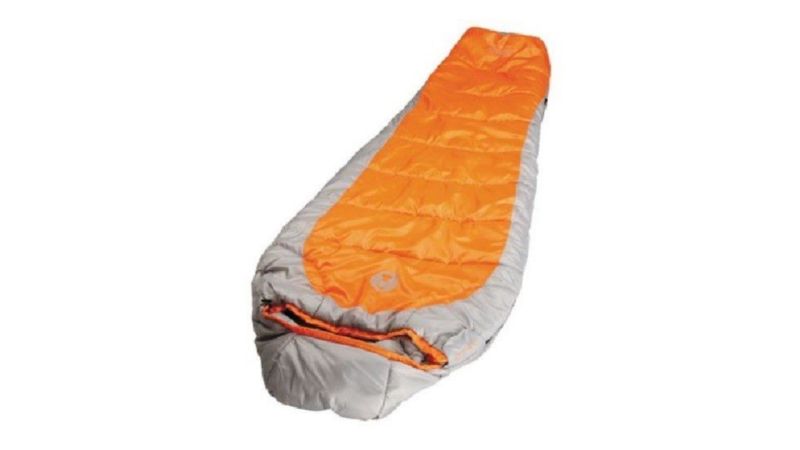
Sleeping Bag
Top pick
Coleman 25F Mummy Sleeping Bag
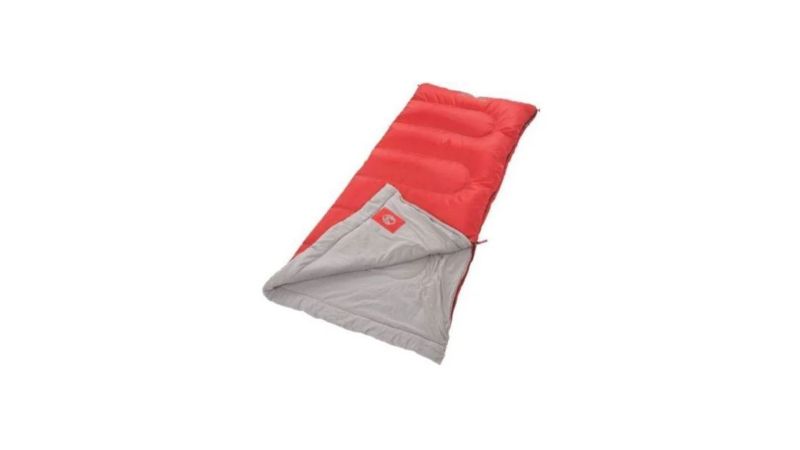
Alternate
Coleman 50 F Rectangle Adult Sleeping Bag
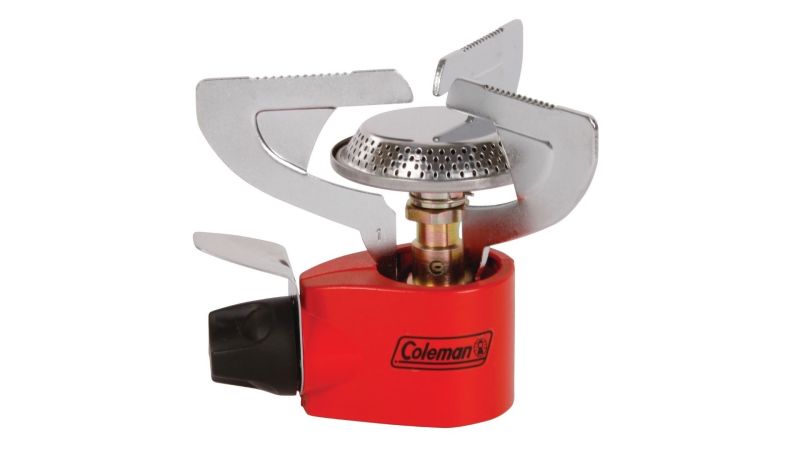
Camp Stove
Top pick
Coleman Peak One Single Burner Stove
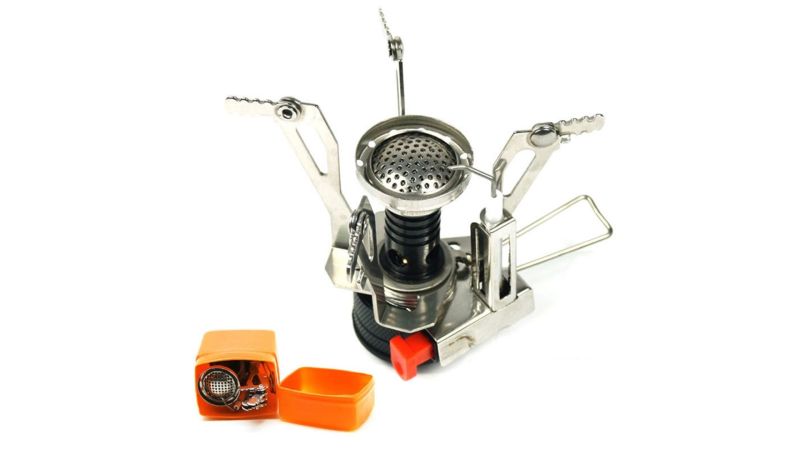
Alternate
Royal Plush Portable Folding Outdoor Stove
Cook Set
Top pick
TOAKS Ultralight Portable Titanium Camping Mug

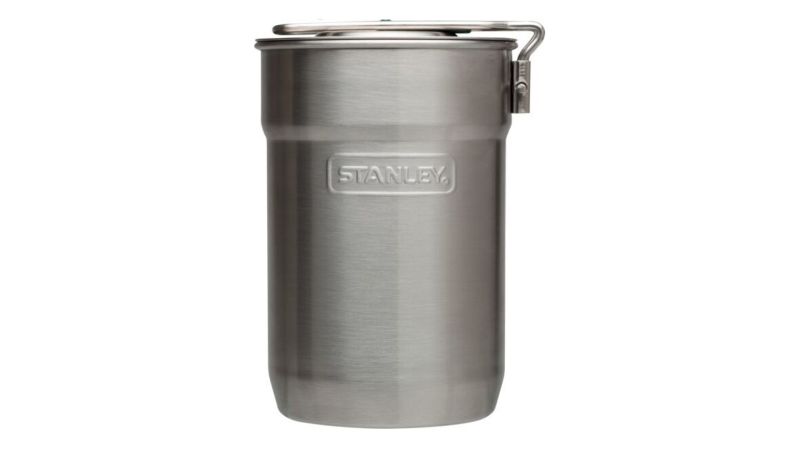
Alternate
Stanley Adventure Nesting Two Cup Camp Cook Set
How you should choose backcountry gear
Selecting backcountry equipment generally comes down to capability, weight, and cost. The greater the capability and the lighter the weight, the more you’re going to pay. Like all things in life, it’s a decision about tradeoffs. If you are just getting into backpacking, the items in the list above will carry you through your first overnighter at a low price point. They won’t be the best or most comfortable items, but they will work acceptably.
FAQs about backcountry gear
Q: How did you get started in backpacking?
A: My dad got me into Boy Scouts and camping and we used a lot of Coleman products like sleeping bags, coolers, and tents.
Q: Why is high-end backpacking gear so expensive?
A: High-end gear is expensive due to the research and development that goes into developing the lightest and strongest materials for the task. Let’s face it, carrying a heavy pack sucks. So, typically, the lighter the gear, the more it costs.
Q: Do you know of any good video resources to help me decide what gear to buy and how to use it?
A: I’m a huge fan of Jessica Mills and her Homemade Wonderlist YouTube channel. She’s an amazing woman who thru-hiked the Appalachian Trail on a budget, and later the Pacific Crest and Continental Divide trails. She’s a wealth of knowledge.
Got questions? Comment below & talk with T&P’s editors
We’re here to be expert operators in everything How-To related. Use us, compliment us, tell us we’ve gone full FUBAR. Comment below and let’s talk! You can also shout at us on Twitter or Instagram.
This post was sponsored by Walmart.